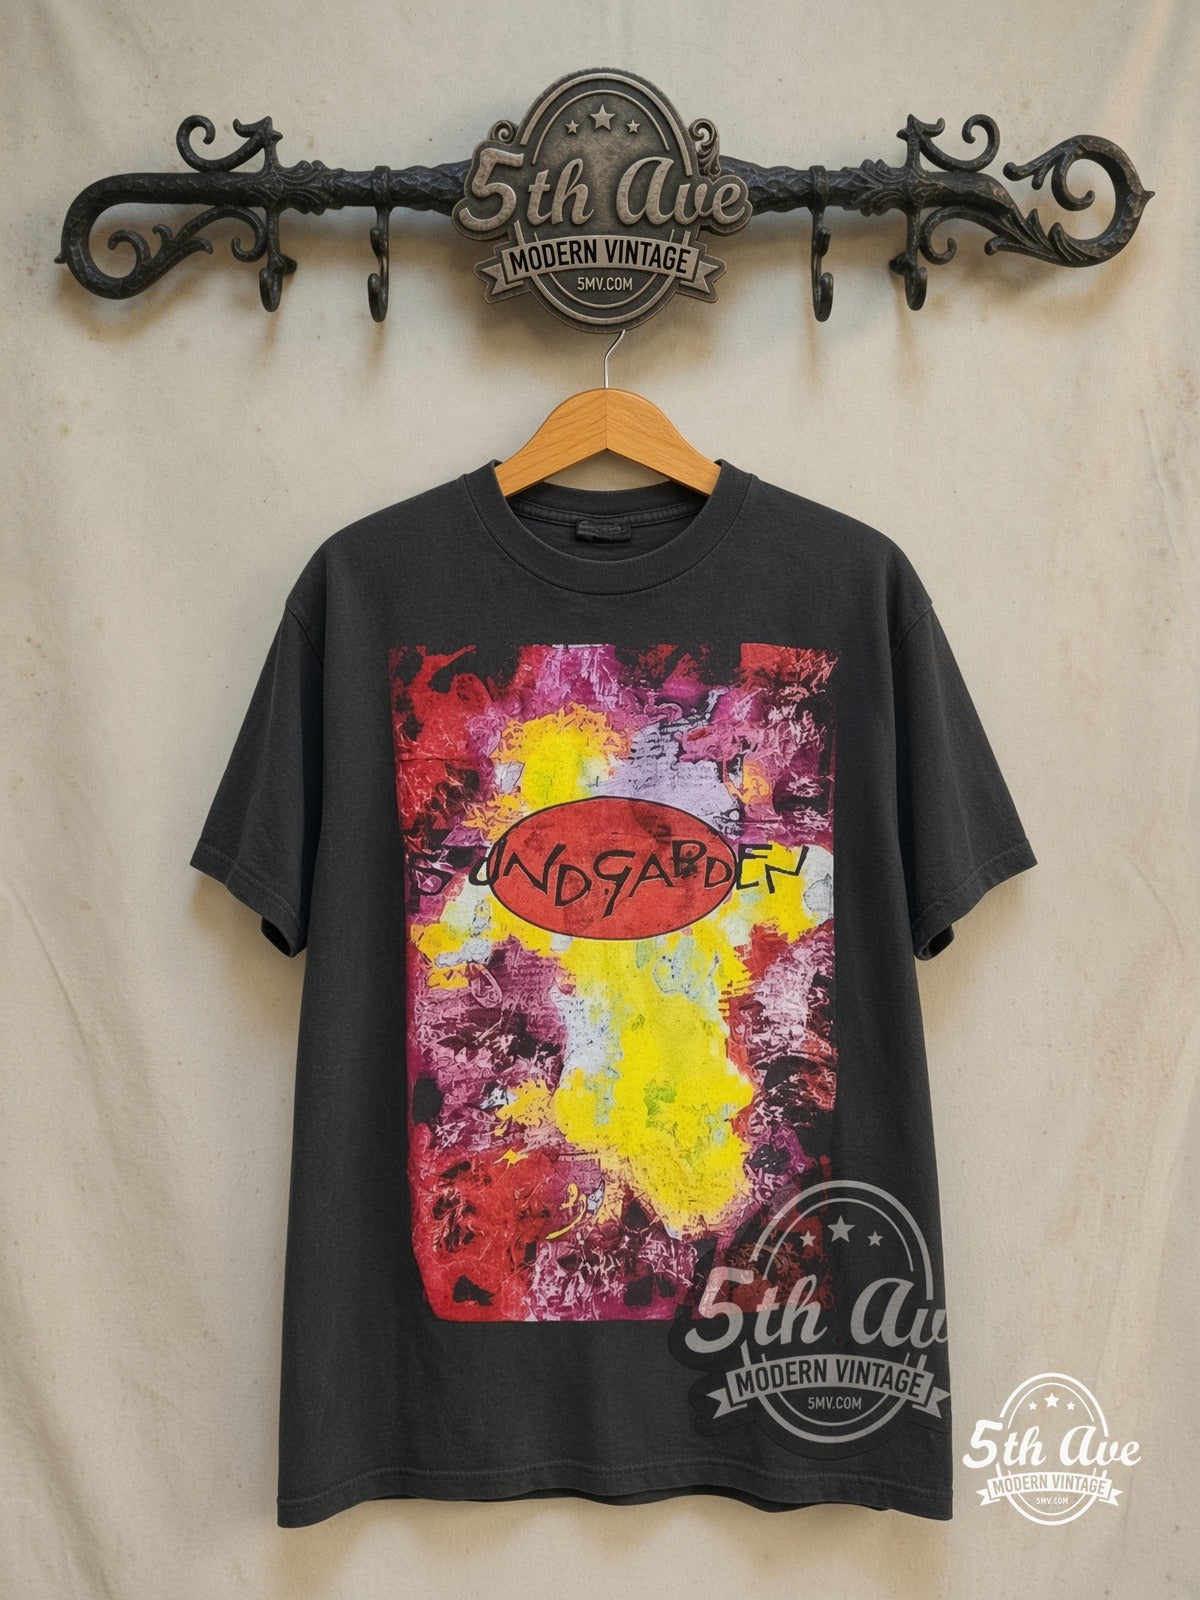
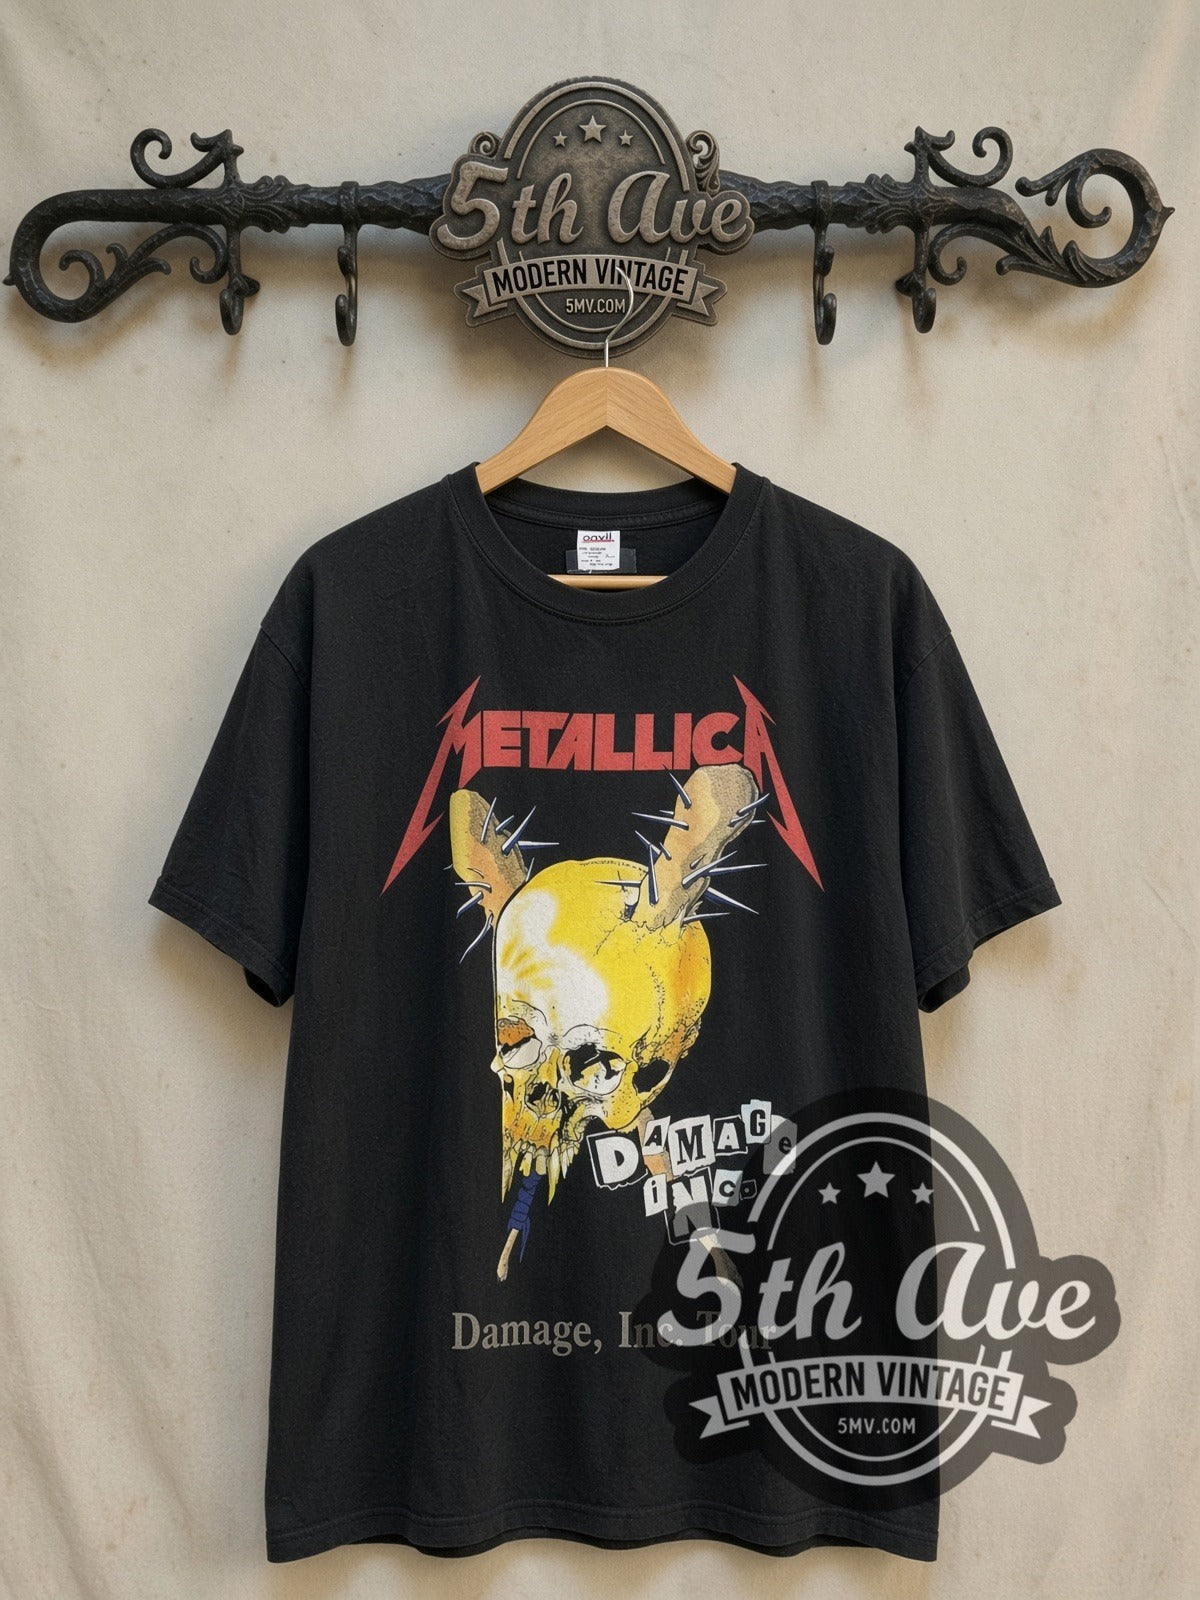
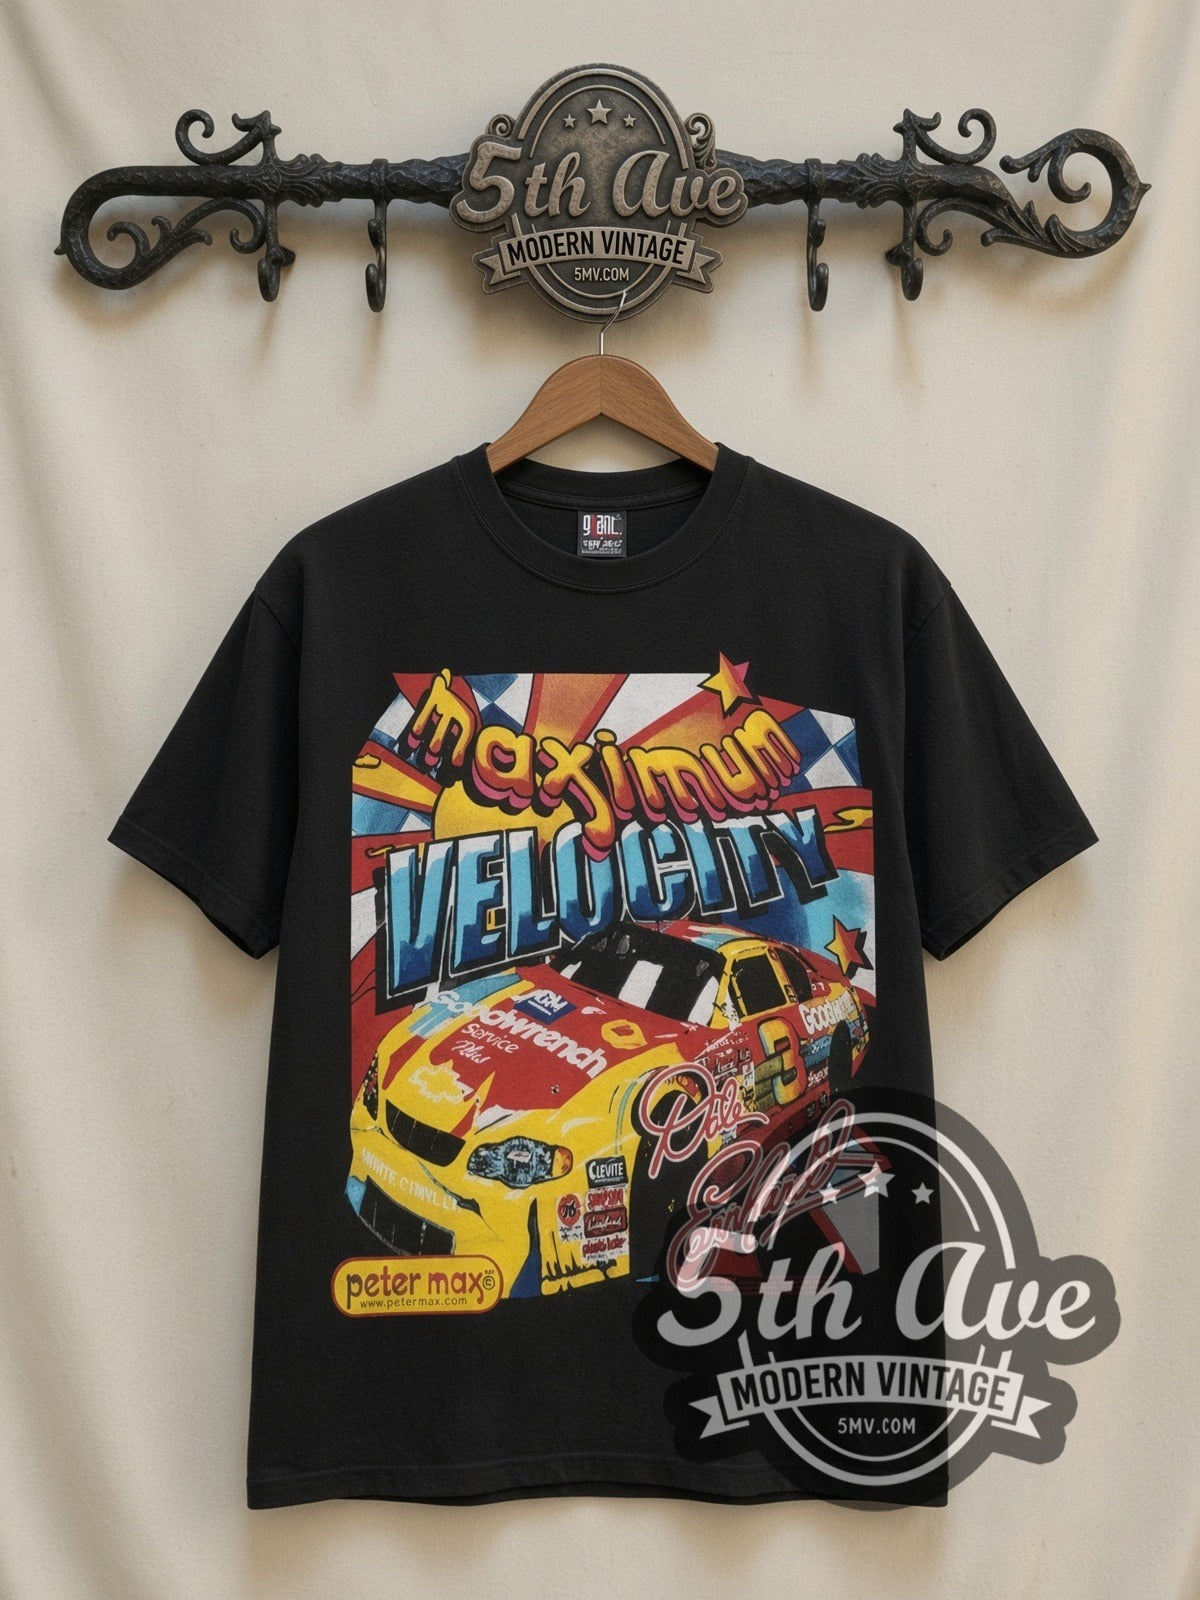

How to Distress and Age a Cotton T-Shirt (That Broken-In Vintage Band Tee Look)
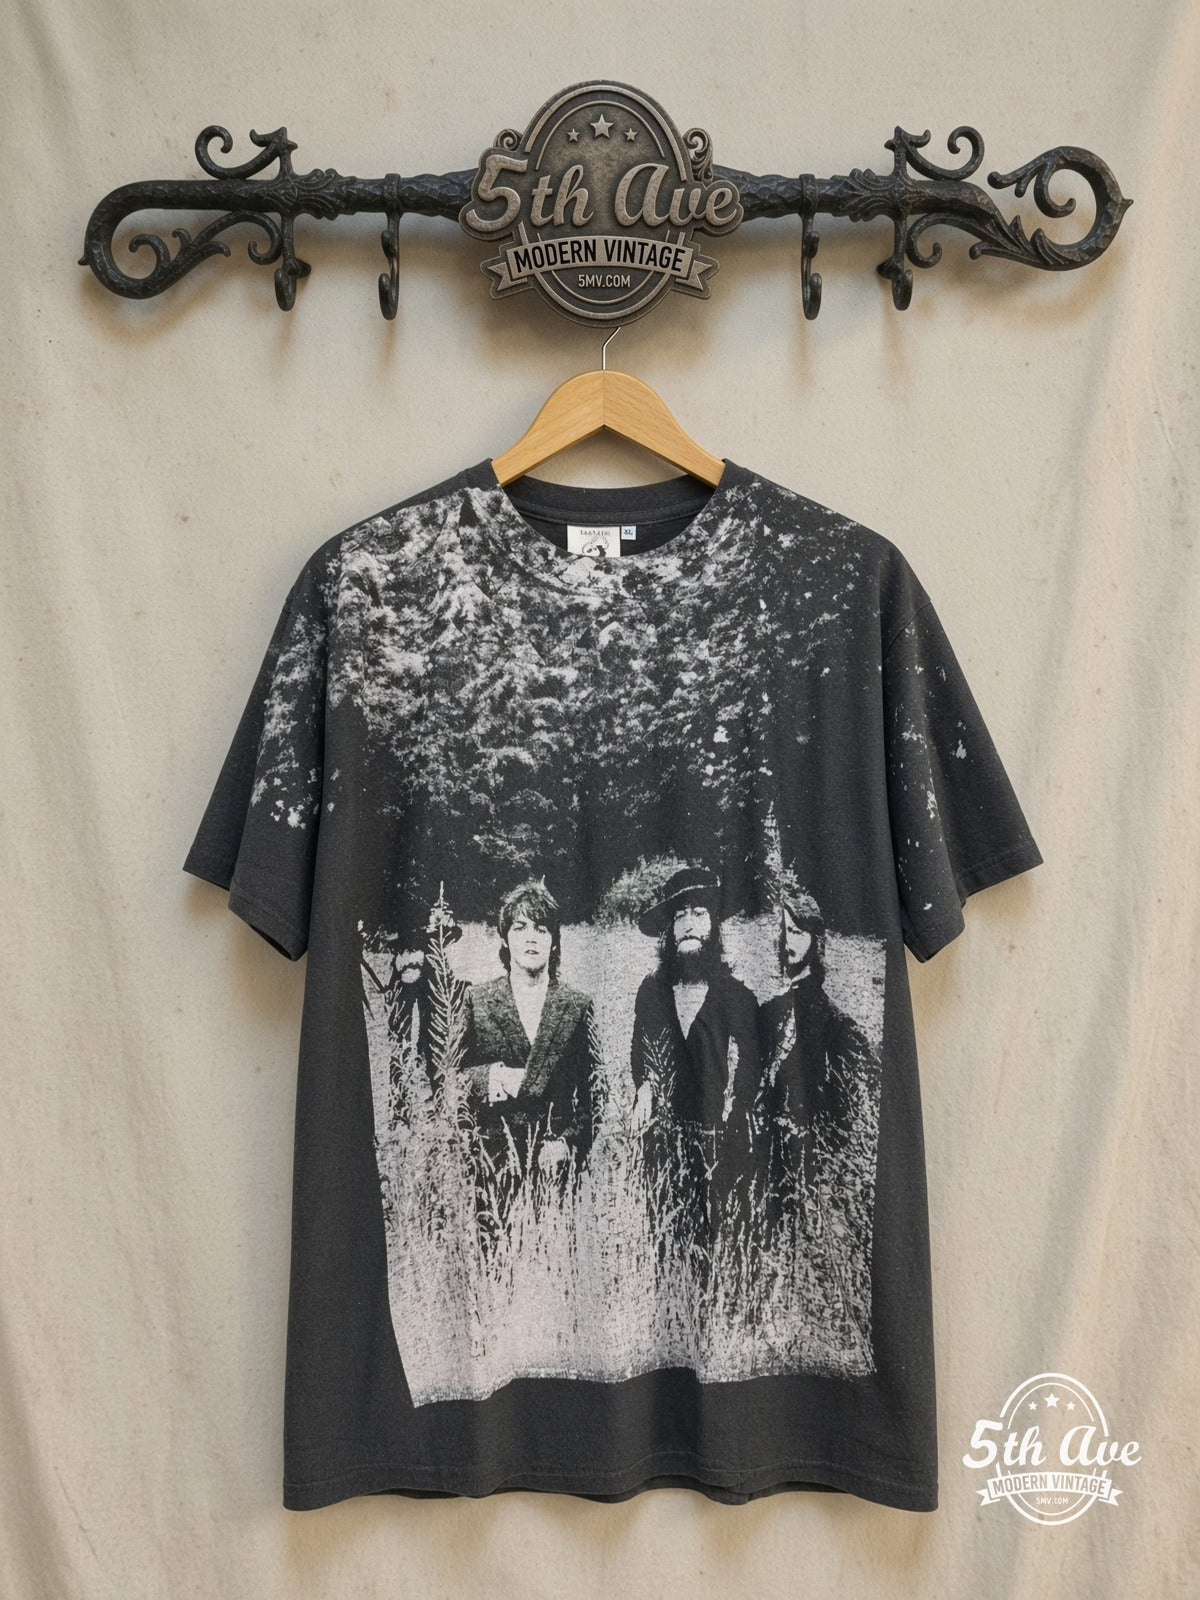
You bought a fresh graphic tee — or a lightly worn one that still feels a little too crisp — and you want that thrift-bin softness: faded collar, lived-in hem, graphics that look like they’ve been on tour since ’94.
Good news: a lot of that “vintage” hand is just cotton that’s been worn, washed, and gently beat up in the right places. You can push a new or lightly worn 100% cotton tee in that direction at home. Bad news (also good advice): there is no undo button. Go slow, layer effects, and never practice on a rare mint piece you’d rather keep pristine.
This is a practical, safety-first guide from the vintage-band / graphic-tee nerds at 5MV — mechanical distressing, wash tricks, sun fade, and a clear-eyed section on cellulase enzymes (the same family of treatments mills use for soft, stonewash-style finishes).
Before you start — hard rules
- Don’t distress rare or collectible tees you want to stay mint. Once fibers are thinned or a print is abraded, it’s permanent.
- Prefer 100% cotton. Polyester and many blends fight bleach and ignore cellulase.
- Test a scrap, an inside hem, or a thrift double first. Always.
- Protect screen prints / plastisol: cardboard inside the shirt, light touch on the graphic, cooler washes after you’re done aging.
- Safety gear for bleach and enzymes: gloves, eye protection, ventilation. Don’t mix bleach with ammonia or other cleaners.
- Questions about a tee you got from us? Email eve@5mv.com.
What “aged” actually looks like
Real wear isn’t uniform. Focus on places bodies and bags actually rub:
- Collar rib and the fold just under it
- Sleeve hems and side seams
- Bottom hem corners
- High points of a chest print (very lightly)
- Soft overall hand and a little color fade — not polka-dot destruction unless that’s your vibe
The best DIY aging looks uneven on purpose: a little more love on one shoulder, a soft fade across the body, tiny frays that grow in the wash. Factory “pre-distressed” sometimes looks stamped. Hand work looks like a closet.
Materials list (pick what matches your method)
Almost always useful
- Cardboard or a cutting mat insert (stops you from sanding/cutting both layers)
- Medium sandpaper (~80–120 grit; finer ~150–220 for subtle work)
- Sharp scissors or a craft knife / razor (optional holes)
- Rubber gloves, eye protection
- Plastic sheet or old towels for the workspace
- White vinegar, measuring cup, bucket
- Mild detergent
For color / fade
- Household chlorine bleach (use diluted; neutralize after) or skip bleach and use sun + lemon for gentler fade
- Lemon juice (sun-fade assist)
- Strong tea or coffee (warm dingy cast)
- Sea salt or table salt (abrasive soak — optional)
For enzyme softening / bio-aging (advanced)
- Textile cellulase product sold for garment wash / biopolishing (liquid preferred), or a laundry detergent that lists cellulase / “color care / anti-pilling” enzymes (much milder)
- Thermometer for bath water
- Access to a warm rinse / hot wash for deactivation (see enzyme section)
- Product label / technical sheet — follow that dose, not a random internet number
Skip for home blog projects: industrial potassium permanganate sprays, mystery “PP” powders, and anything without a clear SDS. Cool in a laundry, not on your kitchen counter.
Method 1: Mechanical distressing (best first step)
This is the safest path to “I’ve worn this for years” without chemistry.
Sandpaper soft-wear
- Lay the tee flat. Slide cardboard inside.
- Rub 80–120 grit with light, irregular strokes on collar, sleeve edges, hem, and shoulder seams.
- For a vintage graphic look, kiss the high points of the print with finer grit — don’t dig. You’re after cracked-in ink, not a bald spot.
- Shake out lint. Wash once and reassess before you go harder.
Tip: Natural wear is patchy. Don’t sand a perfect rectangle across the chest.
Collar and hem “years of washing”
- Lightly abrade the outside of the collar rib, then flip and hit the fold.
- Roll the hem between sandpaper and your thumb at the corners.
- Throw in a normal wash + dry (or hang dry if you’re protecting a fragile print). Repeat over a few laundry cycles — aging can be a weekend project, not a one-hour massacre.
Holes and slits (optional, easy to overdo)
- Cardboard barrier. Always.
- Tiny slits or short slits where fabric would fail anyway (near hem, underarm-adjacent very carefully, beside a graphic — not through the only cool part of the art unless you mean it).
- Stretch gently so cotton rolls and frays.
- Wash to bloom the fray.
Start with fewer holes than Instagram suggests. They grow.
Stone wash alternatives at home
True pumice stone washing is messy and harsh on thin knits. At home, the practical substitutes are:
- Sandpaper + tumbling in the washer (fabric-on-fabric abrasion)
- A cellulase bath (next section) for soft, even surface thinning
- Patience: more washes, more wear
Method 2: Wash aging (salt, vinegar, tea)
No lab coat required — just buckets and time.
Break-in washes
Wash the tee a few times before heavy bleaching or enzyme work. Factory finishes rinse out; cotton starts to relax. Inside-out, mild detergent, avoid overloading so the shirt can actually abrade against itself.
Salt soak (abrasive assist)
Some DIY aging guides soak cotton in a salty bath (one published home series uses roughly 1 part salt to 9 parts water, for a long soak of a couple of days). Salt doesn’t magic-fade like bleach; it adds gentle abrasion and pairs with later staining or sun. Rinse well after. Results are subtle — layer with sandpaper or sun if you want more.
Vinegar
White vinegar shows up two ways in home aging
- Softening / rinse assist after washes
- Setting tea or coffee stains (e.g. around 1 part vinegar to 3 parts water in DIY tea-aging writeups)
- Neutralizing bleach after color work (see below)
It won’t replace years of wear by itself, but it’s a useful, low-drama tool.
Tea or coffee stain (warm vintage cast)
- Brew strong tea or coffee; cool slightly.
- Soak the dry or damp tee, stirring so it doesn’t blotch too hard (a little blotch reads older). Times vary wildly — check every so often from ~20 minutes up; some experiments run hours.
- Pull when the tone looks right (it will lighten a bit when dry).
- Optional set: vinegar-water soak, then wash and dry.
Best on lighter or already-faded bodies. On black tees you’ll notice less “tea” and more “meh” — use bleach/sun strategies instead for dark cotton.
Method 3: Sun fade (and lemon assist)
UV is free distressing.
- Wash the tee so it’s clean and receptive.
- Optional: soak in about 1 part lemon juice to 3 parts water, then wring lightly. Wet fabric tends to fade faster in sun than dry.
- Hang in direct sun, flipping now and then for more even fade — or don’t flip if you want a one-sided, window-sill story.
- Repeat over several days. Patience beats one brutal bleach session.
Sun fade is kinder to many prints than aggressive chlorine, but prolonged UV still weakens fibers and can chalk ink. Check the graphic as you go.
Method 4: Bleach — carefully
Bleach is powerful, fast, and unforgiving. Use it for intentional fades and splatters, not as a “softener.”
Safety
- Gloves + eye protection
- Outdoors or serious ventilation
- Old clothes and covered surfaces
- Never mix bleach with ammonia or acid cleaners
- Keep away from kids, pets, and anything you care about on the floor
Dilute and watch
DIY tutorials use a range of dilutions (from roughly 1:1 bleach:water for faster effects to ~1:4–1:5 for more control). Start weaker. Color keeps developing for a minute or two after you think you’re done — pull early.
Techniques that look good on band / graphic tees
- Light mist or toothbrush flick for tour-worn speckles
- Ombré dip of the hem only
- Spot fade near seams — not a random blast through the only readable part of the logo unless that’s the look
Always slide cardboard inside so bleach doesn’t ghost through to the back in a weird double print.
Neutralize — non-negotiable
When the color is almost there:
- Dunk in cold water with white vinegar (a common home ratio: ~1 cup vinegar per gallon of water) for several minutes, or use a hydrogen peroxide rinse as an alternative neutralize step.
- Rinse thoroughly.
- Wash alone, cold or warm per care label.
- Inspect. Add more bleach later if needed. You cannot un-bleach.
Skip long bleach soaks on thin vintage-weight cotton if you still want a wearable shirt next month.
Method 5: Cellulase enzymes — soft fade the mill way
This is the part for people who want the science behind that peachy, broken-in hand.
What cellulase is
Cellulase is an enzyme (a protein) that helps break down cellulose — the plant polymer that makes up cotton. In textile finishing it’s used for:
- Biopolishing — snipping fuzzy surface fibers so fabric feels smoother and pills less
- Enzyme / bio-stone washing — controlled surface abrasion so dyed cotton (famous on denim) looks faded and soft without a machine full of pumice stones
On a cotton tee, a proper cellulase treatment can soften the hand and gently lighten surface color as those weakened fuzz fibers wash away. It is not magic ink remover and it will thin the cloth if you overdo time, temperature, or dose.
Acid vs neutral (why labels matter)
Textile sources commonly split cellulases like this
| Type | Typical pH window | Typical temperature window | Personality |
|---|---|---|---|
| Acid cellulase | about 4.5–5.5 | about 40–55°C (104–131°F); optima often near 50–55°C | Faster abrasion / fade; can be more aggressive |
| Neutral cellulase | about 6–7 (sometimes cited up to ~8) | about 40–60°C (104–140°F); optima often near ~55°C | Milder, slower; often preferred when you want control |
Industrial bath times are often on the order of ~30–60 minutes (some process writeups show 15–90 minutes depending on effect). Doses in technical literature appear as ranges like ~2–4 g/L of bath or ~0.5–1.5% on weight of fabric — but product activity units differ. Your only safe home dose is whatever the bottle or TDS says, after a scrap test.
Enzyme activity generally falls off if the bath is too cold or too hot (DIY and industry notes often flag sharp drop-offs outside a roughly ~15–60°C comfort band for many cellulases). Hotter within the stable window usually means faster action — and faster mistakes.
Home-accessible products
-
Textile cellulase for garment wash / biopolishing
Sold through specialty textile-chemical and some industrial/craft suppliers. Liquid grades are easier and safer to handle than powders. Read the SDS. -
Laundry detergents that contain cellulase
Many modern “color care” or anti-pilling formulas use mild care cellulases. They’re built to keep cotton looking cleaner and less fuzzy over normal washes — a gentle soft-age if you use warm cycles repeatedly — not a full mill enzyme-wash clone.
If you can’t verify it’s cellulase and you can’t follow a dose + kill step, stick to sandpaper and washes.
Conservative home enzyme protocol (cotton tee)
Only on a tee you’re willing to sacrifice. Test a scrap first.
- Prep: Wash the shirt to remove finishes. Work 100% cotton. Insert nothing metal that could abrade unpredictably; use a bucket or washer you can keep at a steady warm temp.
- Mix: Follow the product label. Do not invent a percentage. Aim for a bath around 40–55°C (104–131°F) unless the label specifies otherwise — warm, not boiling. Adjust pH only if the product requires it (some acid cellulases want a mild acetic acid adjustment; others are buffered — read the sheet).
- Treat: Agitate gently. Start checking at ~15–30 minutes. Industrial windows often run longer, but knits lose strength quietly. Pull when the hand/softness looks right — not when the internet says a denim mill stops.
-
Deactivate (critical): Leftover active cellulase can keep eating cotton and cause delayed strength loss. Technical sheets commonly require something like:
- Heat the bath / rinse to about ≥75–80°C (167–176°F) for on the order of 10–15+ minutes, and/or
- Raise pH to about ≥9–10 with an alkaline detergent or soda ash per product guidance
Some factory flows briefly take liquor toward ~90°C to kill enzyme. Use the hottest kill step that your print and fabric can survive — or choose a milder detergent-cellulase path and skip industrial-strength products. - Rinse thoroughly (multiple rinses). Mild detergent wash.
- Dry and evaluate. You can repeat a shorter round later. You cannot re-thicken the knit.
When NOT to use cellulase
- Mint / rare / sentimental collectibles
- Already paper-thin vintage knits
- Tees with fragile, cracked, or waterbase prints that hate heat and abrasion
- Anything not cotton (or high-cotton cellulosic)
- Situations where you can’t control temperature or do a proper inactivation
- If you’re pregnant, highly chemically sensitive, or uncomfortable with SDS warnings — skip; mechanical methods are enough
Enzyme safety
- Treat concentrated enzymes with respect: gloves, eye protection, ventilation.
- Powders can be respiratory sensitizers (textile TDS examples include respiratory sensitization classifications). Don’t create dust; prefer liquids; don’t inhale.
- Keep away from face; wash skin if splashed; store sealed and labeled.
- Enzymes are not “non-toxic juice” just because they’re biological — dose and inactivation still matter for the shirt, and handling still matters for you.
Protecting screen prints and graphics
Vintage band energy dies if the art turns into a plastic crater or a peeled scab.
- Distress wear points more than the focal graphic.
- On the print: dry sandpaper, light pressure, irregular strokes — or leave the art alone and age the body around it.
- Avoid long chlorine soaks through thick plastisol. Mist/splatter is more controllable.
- For enzyme work, remember the heat kill step can stress prints — another reason to scrap-test.
- Aftercare washes: inside out, cold or warm (not repeated scorching heats), mild detergent, skip heavy softener buildup if you care about hand and print. Hang dry when the graphic is special.
- Iron inside out or not at all on the print.
Suggested “vintage band tee” recipes (layer, don’t nuke)
Subtle break-in (new blank or light graphic)
Sandpaper collar + hem → 2–3 normal washes → optional afternoon of sun.
Tour-worn graphic
Light sand on collar/seams → very light sand on print highs → toothbrush bleach flecks → neutralize → wash → optional tea tint on light-colored tees.
Soft + faded body (advanced)
Scrap-tested cellulase per label at ~40–55°C, short cycle, full deactivation → rinse → light mechanical wear on collar → air dry.
Punk hole energy
Skip bleach. Small cuts + wash fray + heavy collar sand. Keep the logo readable unless chaos is the point.
Aftercare
Once you’ve got the look
- Wash less often; spot clean when you can.
- Inside out, gentle cycle, similar colors.
- Hang dry to slow further thinning (dryer abrasion keeps aging things — which is fine until it isn’t).
- Accept that distressed cotton is on a one-way road. That’s the charm and the risk.
Already want the look without the science fair?
If you’d rather wear the vibe than babysit a bleach bucket, browse vintage-style and broken-in graphic tees at 5mv.com — band, movie, anime, cartoon art on soft cotton, the kind of rack mix that already feels like a friend’s closet. And if you DIY’d a shirt from us and want product advice (not a chemistry lab consult), hit eve@5mv.com.
Go slow. Stop early. Keep the mint pieces mint. Everything else can earn its fades.
Sources
Real references used for temperatures, pH windows, doses, inactivation, and home methods (ranges disagree across sources — we cite them and recommend conservative home practice + scrap testing):
- Textile Learner — Cellulase wash process: https://textilelearner.net/cellulase-wash-process-with-advantages-and-disadvantages/
- Textile Learner — Enzyme washing process: https://textilelearner.net/enzyme-washing-process/
- Textile Learner — Role of enzymes in denim washing: https://textilelearner.net/role-of-enzymes-in-denim-washing/
- Textile Trainer — Denim enzyme wash recipe / parameters: https://textiletrainer.com/recipe-of-denim-enzyme-washing-process/
- Example acid cellulase TDS (Denicell DWA): https://5.imimg.com/data5/SELLER/Doc/2023/11/363067308/HQ/OX/CK/800612/acid-biopolishing-enzyme-denicell-dwa.pdf
- Example acid cellulase TDS (BIOPOL 2500): http://5.imimg.com/data5/SELLER/Doc/2022/12/XK/WI/FJ/5745172/acid-cellulase-biopolish-enzyme-biopol-2500.pdf
- Example cellulase TDS with inactivation + respiratory hazard note (BIODYE L): http://biokatal.com/wp-content/uploads/2016/05/TDS-Biodye-L_eng.pdf
- PMC — Eco-friendly biopolishing context (temp/pH alignment with commercial practice): https://pmc.ncbi.nlm.nih.gov/articles/PMC10884504/
- Novonesis — Carezyme (laundry care cellulase context): https://www.novonesis.com/en/biosolutions/household-care/laundry/fabric-and-color-care/carezyme-elite-100-l
- Novonesis — Cellusoft biopolishing overview: https://www.novonesis.com/en/biosolutions/industrial-bioprocessing/textile/biopolishing/cellusoft-cotton
- AB Enzymes — BIOTOUCH laundry cellulase overview: https://www.abenzymes.com/en/your-industry/detergents/liquid-laundry-detergents/biotouch-duo505/
- Wear2AM — DIY bleach & distress tees: https://www.wear2am.com/blog/diy-bleach-distress-tees-guide
- ShunVogue — Distressing band t-shirts: https://shunvogue.com/article/how-to-distress-a-band-t-shirt
- ShunVogue — Enzyme wash jeans at home (DIY temp sensitivity notes): https://shunvogue.com/article/how-to-enzyme-wash-jeans-at-home
- Found Item Clothing — Vinegar & tea soak aging: https://www.founditemclothing.com/pages/aging-t-shirts-in-six-easy-steps-vinegar-tea-soak-part-7
- Boondoggle Man — Make a shirt look vintage: https://www.boondoggleman.com/how-to-make-a-shirt-look-vintage/
Shop the tees from this guide
Keep browsing: KISS shirts, Anime T-Shirts, Movie T-Shirts, Cartoon T-Shirts, Band T-Shirts.
Start with: KISS – Rock and Roll Over Album Art – Vintage Band T-Shirt, KISS – Alive/Worldwide Tour 1996/1997 \m/KIϟϟ\m/ – Vintage Band T-Shirt, KISS – Demon Logo – Vintage Band T-Shirt.